How to Properly Document Roof Damage for Your Insurance Claim
Getting Your Roof Damage Documentation Right
When a storm rolls through Cedar Park or Leander, the aftermath often includes damaged roofs. Filing an insurance claim for roof repair can feel overwhelming, especially when you are already dealing with the stress of property damage. The key to a smooth process lies in how well you document the damage before any work begins. Insurance companies rely heavily on photographs, written descriptions, and timelines to assess claims. Without solid documentation, you risk delays or reduced payouts. This guide walks you through the steps to document roof damage effectively, so you can move toward repairs with confidence.
Step 1: Safety First, Assess the Situation Carefully
Before you grab a camera or climb a ladder, take a moment to evaluate safety. Roof damage often means loose shingles, exposed nails, or weakened structure. If the damage is severe, such as a large hole or sagging sections, do not walk on the roof. Instead, observe from the ground or use a pair of binoculars. If you suspect structural issues, wait for a professional inspector. Your safety matters more than any photo. Also, if there is water leaking inside the home, move valuables and furniture away from the area and place buckets or tarps to catch drips. This initial step protects both you and your property while you prepare to document the damage for the insurance adjuster.
Step 2: Gather Your Tools and Materials
To document roof damage thoroughly, you will need a few basic items. A smartphone or digital camera works fine for photographs, but ensure the lens is clean and the settings are set to high resolution. A tape measure helps capture dimensions of damaged areas. A notebook or a note-taking app on your phone is useful for recording details like the date of the storm, the time you discovered the damage, and any visible signs of wear. You may also want a ladder that is stable and tall enough to reach the roof edge safely, though you should avoid climbing onto the roof itself unless you are experienced and the roof is stable. Having these tools ready makes the documentation process efficient and accurate.

Step 3: Take Extensive, Clear Photographs
Photographs are the backbone of any insurance claim for roof repair. Start with wide shots of the entire roof from multiple angles. These establish the overall condition and show the scope of damage. Then move closer for medium-range photos that highlight specific problem areas, such as missing shingles, dented flashing, or curled edges. Finally, take close-up shots of individual damaged spots. Pay attention to details like nail pops, cracks, or granule loss on asphalt shingles. For hail damage, capture the dimpled surface with something for scale, such as a coin or a ruler placed next to the damage. Photograph any interior leaks as well, including water stains on ceilings or walls, wet insulation, or damaged drywall. These interior photos connect the roof damage to the interior consequences, which is critical for a comprehensive claim. Take photos from different times of day if possible, as lighting can reveal hidden issues. Do not delete any photos, even if they seem redundant. The adjuster may want to see every angle.
Step 4: Write a Detailed Description
Alongside photographs, a written account of the damage strengthens your claim. Describe what you see in each affected area. Note the type of damage, such as "three missing asphalt shingles on the north slope near the ridge" or "a two-inch dent from hail on the south-facing metal flashing." Include the date and time of the storm, the type of weather event (hail, wind, rain), and any immediate actions you took, like placing a tarp over a leak. Be factual and avoid emotional language. Instead of saying "the roof looks terrible," write "the roof has visible granule loss on the east slope, and there is a gap between the flashing and the chimney." This clarity helps the adjuster understand the damage without needing to visit the site immediately. Also, keep a log of any conversations with your insurance company, including the names of representatives and what was discussed.
Regenesis Roofing & Restoration LLC is also on Instagram.
Step 5: Make Temporary Repairs Without Jeopardizing the Claim
After documenting the damage, you may need to make temporary repairs to prevent further water intrusion or structural issues. Most insurance policies allow for reasonable temporary repairs, but you must document them carefully. Take a photo of the damage before you start, then another after the temporary repair is complete. Keep receipts for any materials you purchase, such as tarps, plywood, or roofing cement. Do not undertake permanent repairs until the adjuster has inspected the roof and approved the scope of work. If you hire a contractor for temporary fixes, make sure they understand not to perform any permanent work until the claim is settled. This balance between protecting your home and preserving the evidence for the claim is crucial.
Step 6: Organize Your Documentation for the Adjuster
Once you have collected all photos, notes, and receipts, organize them in a clear folder, either physical or digital. Label each photo with a brief description and the date. Group photos by area of the roof or type of damage. If you have multiple leaks inside, label those photos with the corresponding exterior damage. This organization saves the adjuster time and demonstrates that you are thorough and prepared. When the adjuster arrives, walk them through the damage systematically, showing them the photos and your notes. Answer their questions honestly. If they ask about pre-existing damage, be upfront about any known issues. Insurance policies often exclude damage that existed before the storm, and hiding it can lead to claim denial or fraud accusations.

Step 7: Understand Your Policy and the Claims Process
Before the adjuster completes their report, review your insurance policy for key terms like deductible, policy coverage limits, and exclusions. Your deductible is the amount you pay out of pocket before the insurance covers the rest. Policy coverage defines what types of damage are covered, such as wind, hail, or falling objects. Some policies have specific requirements for how long you have to file a claim after the damage occurs. Knowing these details helps you set realistic expectations about the payout and timeline. If you are unsure about any part of the policy, ask your agent or the adjuster. Do not assume that all damage will be covered. For instance, cosmetic damage from hail may be treated differently than functional damage that affects the roof's ability to keep out water.
Step 8: Work with a Professional Roofing Contractor
While you can document the damage yourself, a professional roofing contractor can provide an expert assessment that complements your documentation. A contractor can inspect the roof thoroughly, identify hidden damage like cracked underlayment or compromised flashing, and provide a detailed restoration estimate. This estimate gives the adjuster a clear picture of the necessary repairs and their cost. If you choose to hire a contractor, ask them to walk the roof with you and point out each issue so you can photograph it. Many contractors offer free inspections and can help you understand the scope of work. For homeowners in Cedar Park, Leander, and nearby North Austin communities, Regenesis Roofing & Restoration LLC can assist with this process. They provide roof inspections, repairs, replacements, hail damage restoration, and storm-related roofing services. Their team can document the damage thoroughly and provide a professional estimate to support your claim.
Step 9: Submit Your Claim and Follow Up
Once your documentation is complete and you have an estimate from a contractor, submit your claim to the insurance company. Include all photos, notes, receipts, and the contractor's estimate. Keep copies of everything for your records. After submission, follow up with the adjuster regularly. Claims can take time, especially after a widespread storm when many homeowners are filing at once. Be patient but persistent. If the adjuster requests additional information, provide it quickly. If you disagree with the adjuster's assessment, you have the right to appeal or request a re-inspection. Having thorough documentation from the start gives you leverage in these discussions.
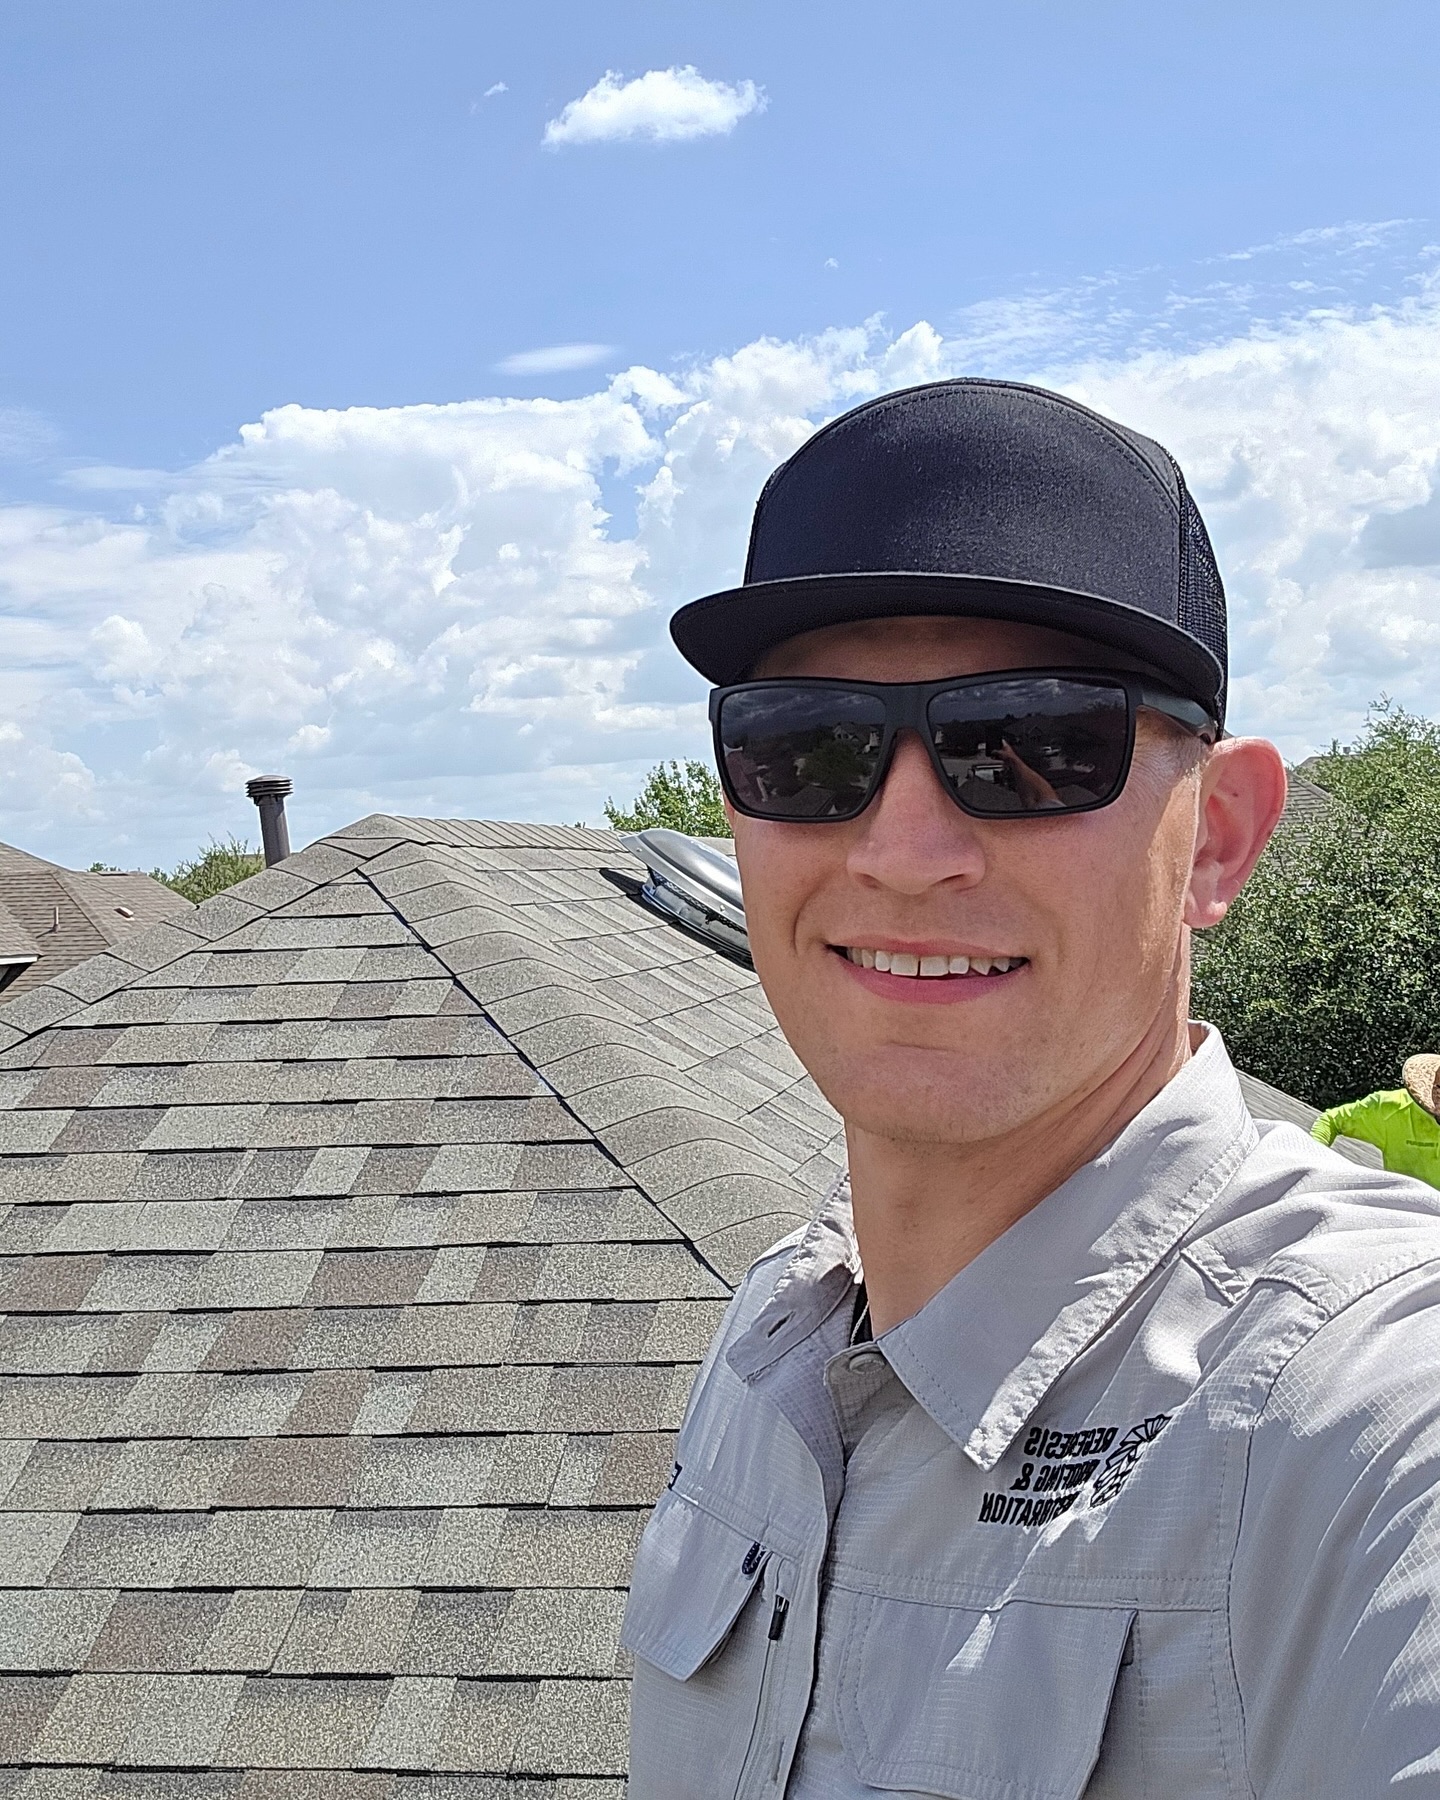
Documenting roof damage for an insurance claim does not have to be complicated. By taking clear photographs, writing detailed notes, making temporary repairs carefully, and organizing your materials for the adjuster, you set yourself up for a smoother process. A professional roofing contractor can also provide valuable support. Regenesis Roofing & Restoration LLC, located at 2302 John Tee Dr, Cedar Park, TX 78613, USA, and reachable at +1 512-674-5979, offers roof inspections, repairs, replacements, hail damage restoration, and storm-related roofing services in Cedar Park, Leander, and nearby North Austin communities, helping homeowners document damage and restore their roofs after storms.